The Problems with 3D Printing
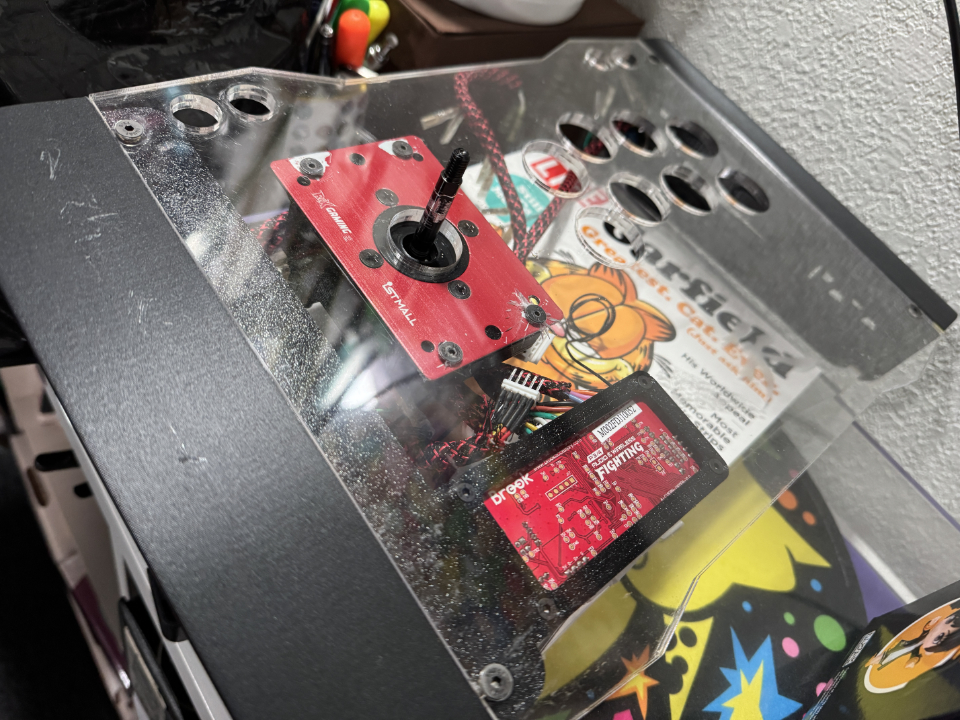
I’ve been working on this project for a few months. It’s (another) 3D printed fight stick. This particular fight stick belongs to ThaiChi. He’s had it for years, and it’s been through a lot, so he asked me to remake it. This fight stick has 3D-printed edges on the left and right, connected by two acrylic panels on the top and bottom. The top panel holds the buttons and lever, while the upper and lower sides remain open. It’s a cool design. There isn’t a place for the brook board so I 3d printed some brackets to hold it. But now I’m redesigning the whole thing. But I ran into a handful of issues along the way. This issues can happen with any project. I’ve ran into a few of these problems before.
Printing Challenges
The large side pieces take about 10–20 hours to print, depending on settings. My first attempt was with PETG using a 0.4mm nozzle. PLA is the more commonly used material but I went with PETG which is a bit stronger than PLA. But with such a large footprint and long print time (about 20 hours), warping became an issue. The piece needed to be perfectly flat to align with the acrylic and ensure the screw holes line up. One solution was to print it in a different orientation, but that would change the texture on certain sides and require more support material. I researched ways to improve adhesion since poor bed adhesion is a common cause of warping. Some fixes I tried:
- Glue sticks – Applied to the print bed to improve filament grip.
- Better heat retention – Added heat-holding material under the print bed, but I’ve been doing this for over a year.
- Temperature adjustments – Experimented with different printing temperatures.
None of these fully solved the problem, but two things helped:
- Upgrading the print bed – The default bed wasn’t great, even with glue. I tried glass, but it didn’t work as well as I hoped. Then I switched to a PEI bed, which sticks well when hot and releases prints easily when cool.
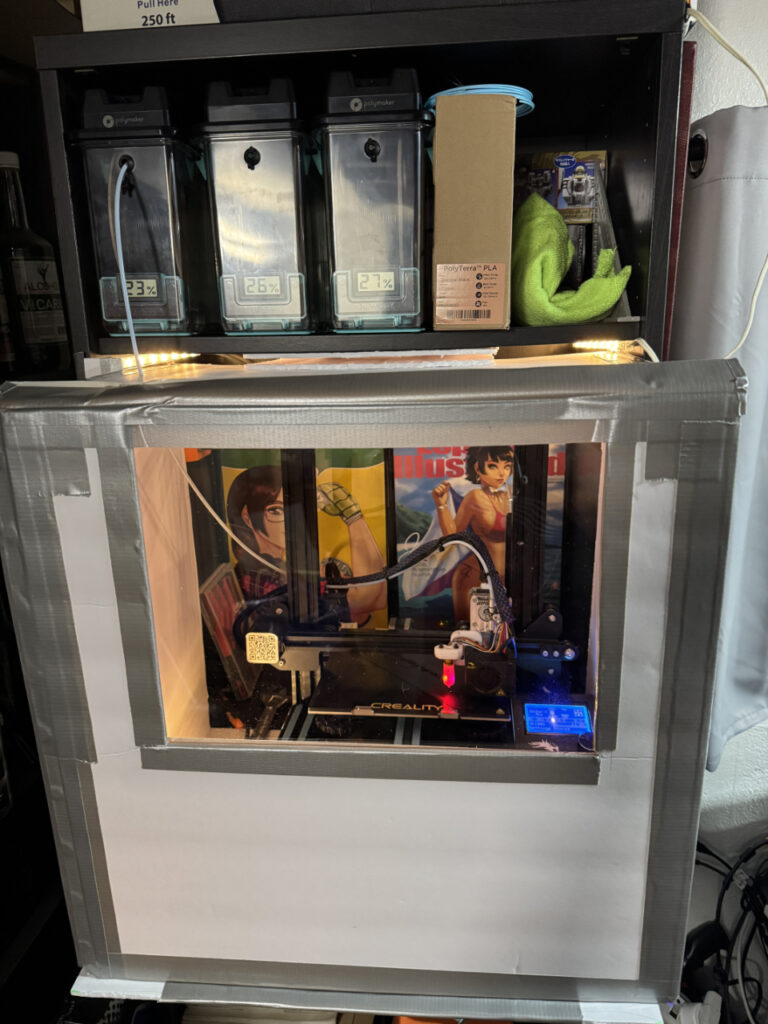
- Enclosing the printer – It’s been cold in SoCal lately, and I feel if PETG cools too fast, it can cause warping. I built an enclosure out of Dollar Store foam board and duct tape. It worked well at keeping the heat in, but the PETG still warped slightly.
Switching to PLA
Since PLA is less prone to warping and prints faster, I decided to switch materials. To further reduce print time. I also changed the nozzle from 0.4mm to 0.6mm, allowing more material flow. These changes cut the print time from about 20 hours to about 10 hours. But I ran into other issues that were not related to warping…
Other Issues
Slicer Settings Reset
When I built my new PC, I had to reinstall all my programs, including Cura, my slicer software. A slicer converts 3D models into printer instructions (GCode). I had previously customized my printer with specific GCode, but when I reinstalled Cura, I forgot to add it back. I copy-pasted an old code snippet in a pinch, but it turned out to be incorrect. Eventually, I figured it out.
Nozzle Distance Issues
Another issue I had to keep in mind is making sure the nozzle was the right distance from the bed. Everything moves in millimeters—or smaller. The first layer prints at about 0.2mm, so even a slight misalignment can cause problems. Changing the nozzle affects this, and I had to re-level the printer each time. You want the nozzle to be 0.1mm above the print bed. If I didn’t tighten the nozzle right, it could leave the nozzle too close or far from the print bed. If the nozzle is too high the print won’t stick to the print bed. If it’s too low it can scratch the print bed.
Loose Nozzle & Oozing Filament
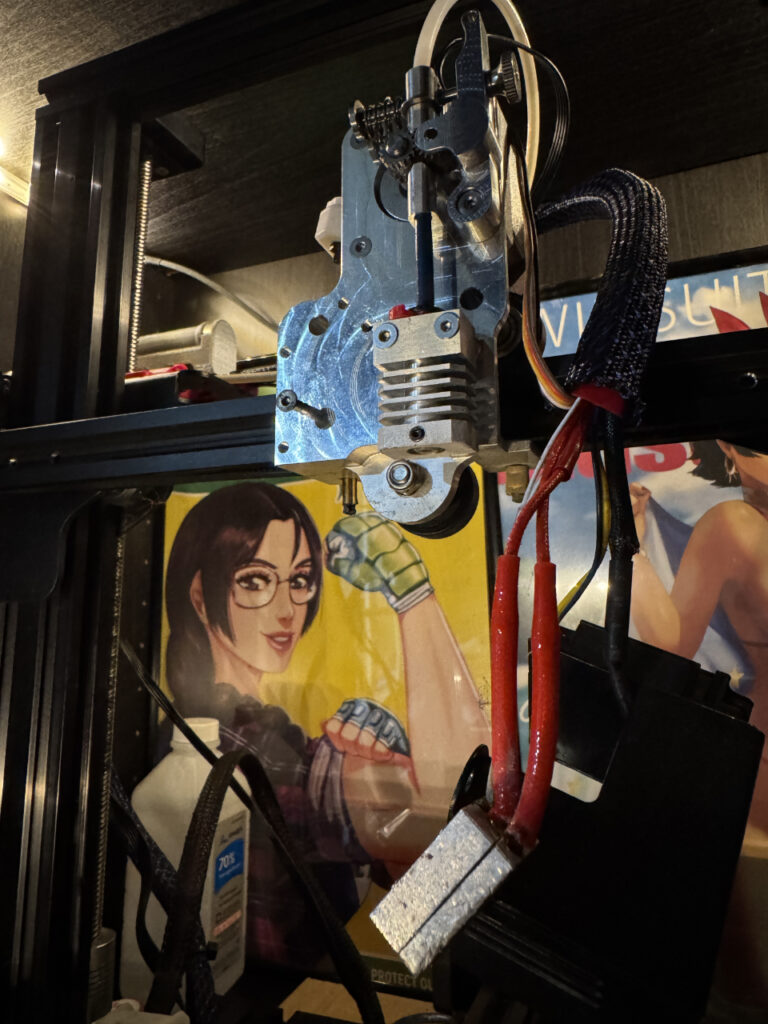
Nozzles need to be tightened while hot due to thermal expansion. During one of the nozzle changes I must have not tightened it enough, which caused filament to ooze out of the wrong spots. The print looked fine at first, but over time, it left a mess of hardened filament stuck to the nozzle and made the print fail overall. I had to disassemble and clean the printer. I even replaced the heat block.
Cold Shut
I also encountered what I think is called a “cold shut.” The cooling block above the heater block keeps filament from melting too early. If filament isn’t fully removed when swapping materials, it can cool and clog inside the cooling block. I had to heat it up to clear the blockage.
Broken Wire
The constant movement of the printer caused one of the wires to break. Luckily, it was a quick fix—I cut the wire, stripped it, crimped on new pins, and replaced the connector.
Final Result
After experiencing and solving all these challenges, the project was finally done. All the pieces printed and put together. I also rewired the lever and buttons. I added a side hole with a grip for easy handling and a new spot for the brook board to rest. It turned out great, and the customer was happy.




1 comment